DIY Elk Hunt Planning: Everything You Need to Do in the 12 Months Before Your Hunt
A month-by-month DIY elk hunt planning guide for western hunters. Unit selection, scouting strategy, fitness prep, gear finalization, meat planning, and the decisions first-timers get wrong.

A DIY elk hunt in the western mountains is the most demanding thing most hunters will ever attempt. The physical work is hard. The planning — if you do it right — is extensive. Most first-timers underplan, show up underprepared, and either tag out on luck or walk out empty with hard lessons they could have avoided.
This guide runs the clock backward from opening day. Start it 12 months out and you’ll be ready. Skip it and you’ll spend the night before your hunt searching for answers to questions you should have resolved eight months ago.
12 Months Out: Draw Strategy and Unit Selection
The planning window opens now. Applications for the most coveted western elk units close anywhere from January through April, depending on the state. Miss the deadline and you wait another year.
The first thing you need is real draw odds data. Your gut feeling about a unit doesn’t matter — the number that matters is your statistical probability of drawing based on your current point total. Use ProHunt’s draw odds engine to run actual odds across multiple states and units. The right unit isn’t the one your buddy hunts; it’s the one where your current points give you a realistic chance of drawing in the next one to three years, has huntable elk density, and doesn’t require a decade of commitment.
The single biggest mistake first-timers make is selecting a unit based on access rather than elk. Easy road access means pressure. Units where a man can drive a truck to camp and be hunting in five minutes also mean that every other hunter with a truck is doing exactly the same thing. Bulls in those units learn fast and go nocturnal by day two. A unit that requires four miles of foot travel to reach the good country has a fraction of the hunters. Plan for the walk.
Multi-State Application Strategy
Don’t put all your points into one state. Apply in two or three states simultaneously — Arizona, Colorado, Idaho, Montana, Nevada, New Mexico, Utah, and Wyoming all have elk draws. Use the multi-state planner to identify which states offer the best draw probability given your current point bank. A year where you draw in Idaho and Colorado isn’t unusual if you’ve stacked both applications correctly.
Once you draw, resist the urge to obsess over a single unit feature — a named drainage, a specific trailhead, a canyon someone mentioned in a forum five years ago. Units shift. Fire, drought, and hunting pressure move elk. You’re not hunting a drainage; you’re hunting a connected system of habitat at multiple elevations.
8 Months Out: Topo Work and E-Scouting
Do this in late winter, when there’s still enough time to adjust your strategy before summer scouting. Open your mapping app — OnX Hunt or CalTopo — and spend serious time on the unit topo.
The goal is to build a mental model of how elk use the unit through the season. Summer range and September range are not the same. Cows and bulls in velvet spend summer on high, open terrain: ridgelines, alpine basins, avalanche chutes thick with forbs. As September approaches and the rut closes in, bulls drop into timbered benches and dark canyon heads. The cows move to meadow edges and stream drainages. If you scout only summer range and then hunt September terrain, you’ll spend three days wondering where the elk went.
Mark every water source, every saddle, every major wallowing area you can identify from aerial imagery. Look for southeast-facing slopes that warm first in morning — that’s where elk feed at dawn. Look for the dark north-facing timber pockets at mid-elevation — that’s where a pressured bull beds in the afternoon heat. Identify at least three or four camp locations at different elevations in case your primary spot is crowded or conditions shift.
Note every road, every trail, and critically every roadless area on the map. The roadless core of a unit is where pressure doesn’t reach. A bull two miles from the nearest trail doesn’t have the same education level as a bull who heard a bugle from a hunter at the trailhead on day one.
6 Months Out: Gear Audit and Fitness Foundation
Spring is the time for honest gear assessment. Pull everything out and look at it without nostalgia. The sleeping bag you used at deer camp at 5,500 feet is not the sleeping bag for a backcountry elk camp at 9,000 feet with a September cold snap. The pack that’s “fine for day hikes” isn’t fine for carrying 50 pounds of meat plus camp gear.
Do a real weight count on your base pack. Most hunters who’ve never done a backcountry hunt pack 60–70 pounds without meaning to. The target for a 7-day backcountry hunt is a base weight — everything except food and water — of 30–35 pounds. Getting there requires ruthless cuts.
Fitness is the other half of this phase. A September elk hunt at 9,500 feet after a summer at sea level is not kind to unprepared cardiovascular systems. The altitude adjustment alone costs you 20–30% of your aerobic capacity in the first 24–48 hours. Start a base-building program now: hiking with a loaded pack, stair climbs, rucking on back roads. You don’t need to be a trail runner. You need to be able to cover three to five miles of steep terrain daily for seven days without breaking down.
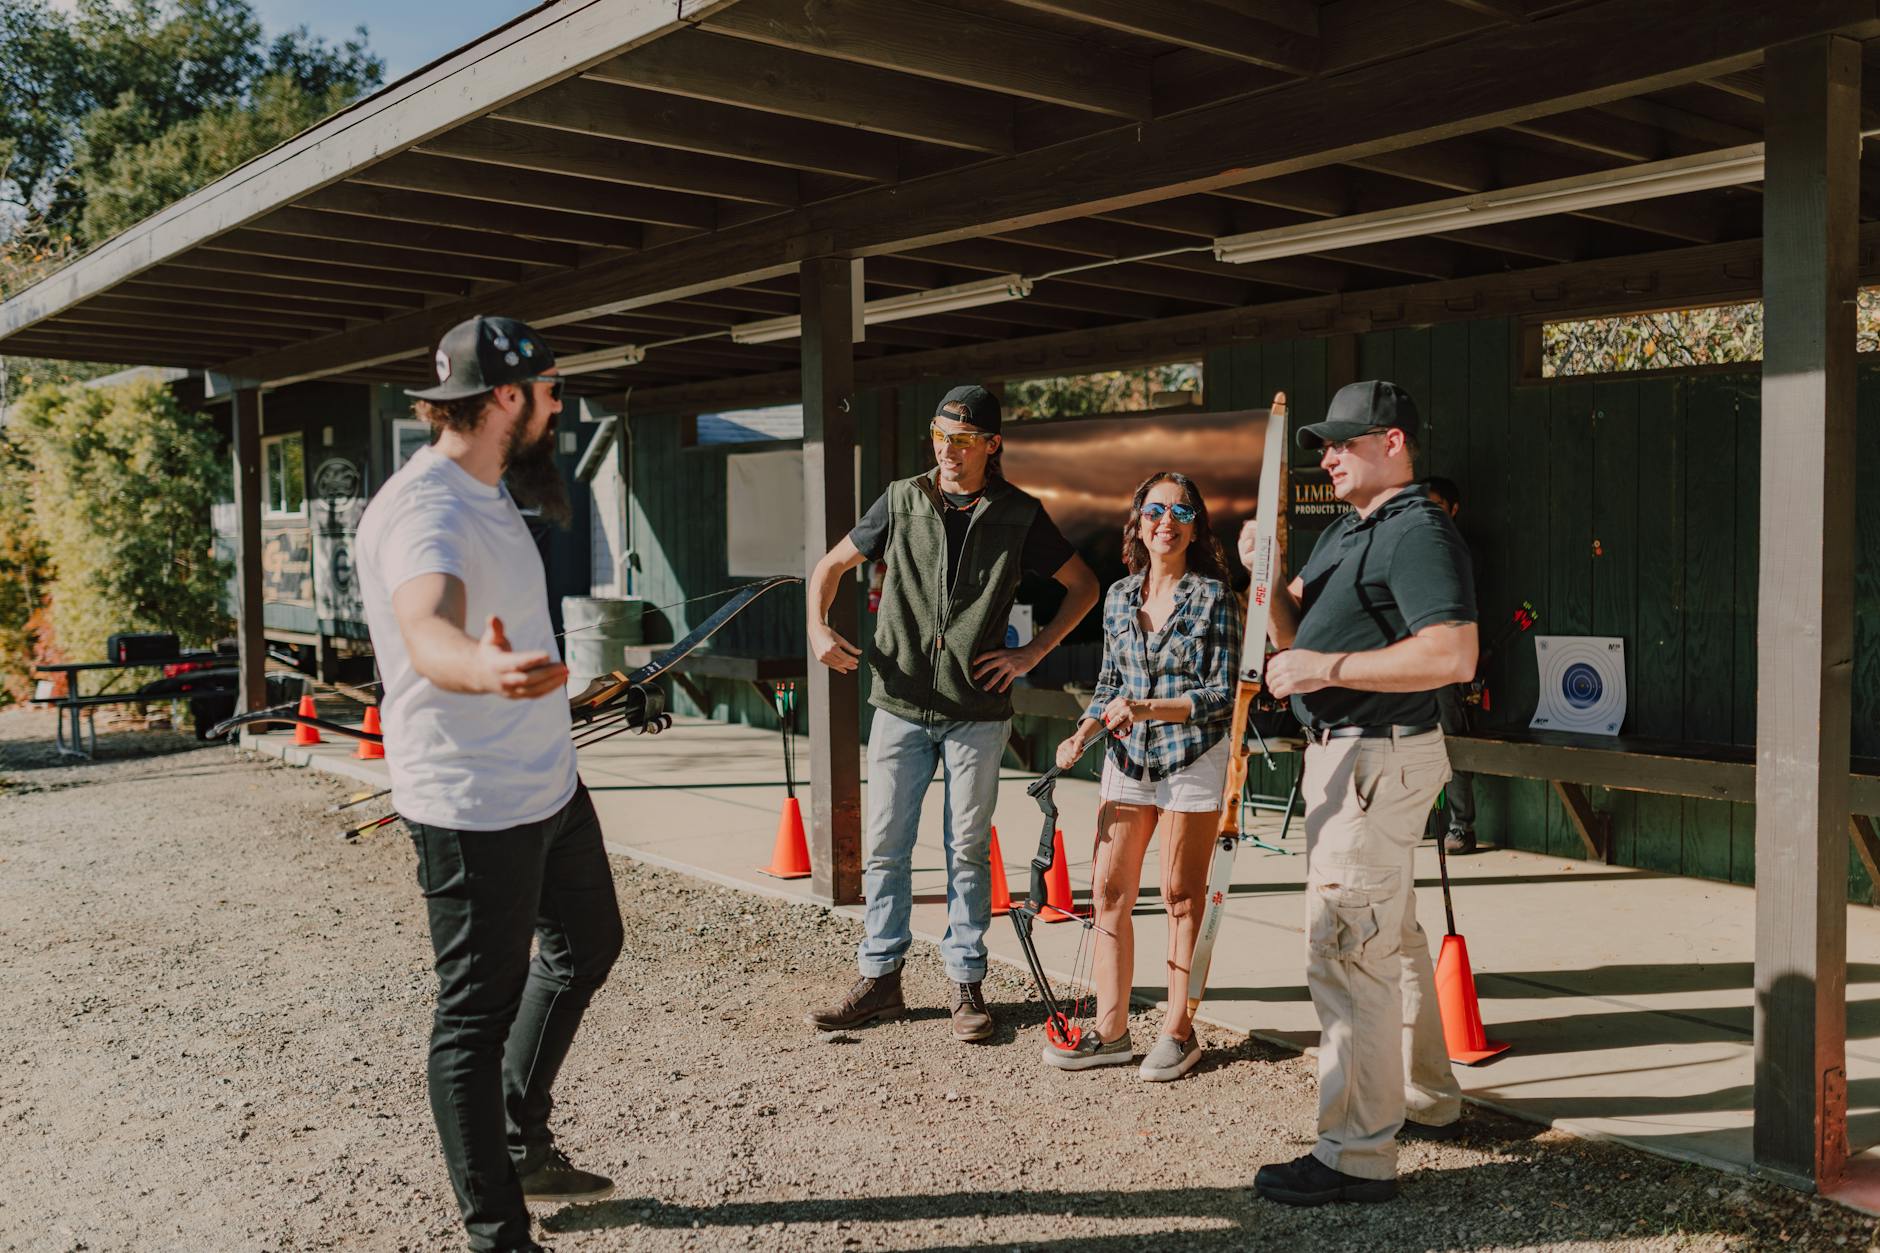
If you’re archery hunting, calling practice starts now. Run cow calls and bugles consistently enough that the mechanics feel automatic before September. You don’t want to be figuring out reed pressure when a bull is at 80 yards and closing.
4 Months Out: Summer Scouting Trip
If your unit is within driving distance — or even a long weekend away — a July or early August scouting trip is worth every dollar and hour. Velvet bulls in July are visible and predictable in a way they won’t be in September. You can glass open basins, identify which drainages hold animals, and confirm whether your topo research translated to actual elk country.
Look for fresh sign on the scouting trip: tracks in soft ground, fresh droppings, rubs on trees, wallows with muddy edges. Wallows are gold. A bull using a wallow in July will likely be back through September. Mark everything in your mapping app with notes — not just a pin, but a written note about what you saw and when.
You’re also confirming logistics. Where’s the actual trailhead parking? Is the access road passable in early September? How long does it really take to hike from camp to the area you want to hunt — not the app’s estimate, but your legs on actual terrain?
The Pack-Out Math
A deboned bull elk yields 180–220 pounds of meat. Over five or more miles of backcountry terrain, that’s three to four full pack loads per person. Before you pull the trigger, know who’s helping you, how many days you’ve built into your schedule for the pack-out, and where your game bags, meat poles, and coolers are staged. Show up without a meat plan and you’re making desperate phone calls with a bull on the ground in warm weather.
2 Months Out: Gear Finalization and Camp Logistics
This is your last realistic window to order and test gear without panic-shipping two days before you leave. Everything going on the hunt gets tested: boots are broken in and proven, your pack is loaded and worn for at least a full day hike, your shelter is pitched in the backyard, your stove boils water without drama.
Food planning deserves more attention than most hunters give it. You need 3,500–4,500 calories per day when working hard at altitude. Freeze-dried meals work but get expensive at scale. A hybrid approach — freeze-dried dinners, homemade trail mix and jerky, tortillas and nut butter for lunch — reduces cost and improves caloric density. Pre-weigh your food by day and pack accordingly.
Satellite communicator setup matters more than most people acknowledge until they actually need it. An inReach or SPOT device registered and tested before you leave is not a backup plan; it’s a basic safety requirement for solo or remote backcountry hunting. Share your itinerary and check-in schedule with someone at home who knows exactly what to do if you miss a check-in.
1 Month Out: Peak Fitness, Precision Shooting, and Processor Contact
Your fitness program should peak here, then taper slightly in the final two weeks. Push hard in July and early August; back off volume but keep intensity in the last two to three weeks so you arrive rested, not depleted.
Rifle hunters need a solid zero — not “good enough,” but tested and confirmed. Zero at 100 yards, verify at 200 and 300 with your actual hunting load, not your practice load. Know your drop numbers. Elk are dense-muscled animals and poor hits kill them slowly — you can lose a fatally hit elk in dark timber if you don’t understand where the shot landed.
Bow hunters carry the same responsibility. Know your effective range and be honest about it. A 60-yard shot on paper in your backyard is not the same as a 60-yard shot on a bull with your pulse running at 150 beats per minute. Most hunters who commit to 50 yards in practice should hunt at 40 in the field.
Contact your game processor now. September is their busy season. Some processors in elk country require reservations or have intake limits. Know whether you’re getting the animal processed or doing it yourself — and if you’re handling it yourself, have the knives, meat saw, vacuum sealer, and freezer space ready before you leave home.
2 Weeks Out: Weather Watch and Offline Navigation Prep
Start watching the weather pattern in your unit. September in the Rockies can deliver anything: a heat wave, a blizzard, or a perfect 40-degree morning with frost on the grass. Prolonged warm weather suppresses rut activity — bulls don’t bugle hard in 80-degree heat. An early cold snap can turn on the rut explosively. Know what you’re flying into.
Download offline maps in your mapping app before you leave. Cellular service in most elk units is nonexistent. Your phone’s GPS works without service, but only if you’ve pre-downloaded the map tiles. Download your unit plus a 20-mile buffer around it. Do this while you’re still on Wi-Fi, not at the trailhead.
Write down your emergency plan. If you’re injured in the field alone, what happens? Where do you activate your satellite communicator? What’s the extraction route to the nearest road? Who are you calling and in what order? Having these written and stored in a physical notebook in your pack costs nothing and may matter enormously.
Pressured Units Call for Different Tactics
In heavily hunted units with road access throughout, aggressive bugling often educates bulls rather than pulling them in. A herd bull who’s been called at three times in two days learns to hang up or go silent. In pressured country, cow calls and passive setups near wallows and water often outperform aggressive run-and-gun bugling. Read the pressure level in your unit before you decide on a calling strategy.
Opening Week: Camp Setup, First Glass, and the First Morning
Set up camp the day before opener if you can. A camp built in daylight beats one assembled by headlamp at 10 PM after a long drive. Know where you’re sleeping, where the water source is, where your gear is staged. You want to wake up at 3:30 AM thinking about elk — not your tent.
First light on opening day is about positioning. Be glassing from a high vantage before shooting light — ideally above the basins you expect elk to use at dawn. Listen for bugles. Move toward sound, not toward where you think they should be based on the map.
The first morning’s glass often tells you everything. If you’re in the right drainage, you’ll hear bugles within an hour of first light and see cows moving through meadow edges. If you’re in the wrong drainage, you’ll hear nothing and see nothing. Have a plan for both. Know which secondary drainage you move to if the primary is silent, and be willing to move early rather than sit in dead country waiting for animals that aren’t there.
Going Solo vs. With a Partner
The partner decision changes everything about logistics, strategy, and safety. Solo elk hunting is legal and viable, but it requires a real gear upgrade — heavier shelter, full navigation kit, satellite comms — and a realistic pack-out plan that accounts for you making multiple solo trips. It also requires honest self-assessment on your backcountry experience.
A solid hunting partner with comparable fitness and compatible goals makes the pack-out manageable and keeps options open for a two-person calling setup. A mismatched partner — slower, at odds with your strategy, unprepared for the physical demands — is actively worse than going alone. Have the fitness conversation before you commit.
When to Hire an Outfitter Instead
DIY elk hunting is legitimate, fulfilling, and achievable. It’s also not the right choice for every hunter in every year. Consider an outfitter if you have two weeks or fewer of available vacation, you’ve never navigated or camped in true backcountry terrain, or you’re hunting a unit with access requirements that an outfitter’s existing infrastructure solves.
Outfitters in prime units run $5,000–$15,000 for a guided bull hunt. If your time is genuinely more limited than your budget, that math can make sense. There’s no shame in it. What doesn’t make sense is spending $8,000 on a guided hunt when you have three weeks off and could do it yourself for a fraction of the cost — and take four times the satisfaction home.
The planning work is the hunt’s foundation. Build it right starting 12 months out and opening morning becomes the reward for preparation, not a scramble against everything you didn’t do.
Next Step
Check Draw Odds for Your State
Tag-level draw odds across 9 western states — filter by species, unit, weapon, and points. Free to use.
Get the Insider Edge
Join hunters getting exclusive draw odds data, gear deals, and weekly hunt planning tips.
Related Articles

Arizona 20-Point Cap Strategy Guide
Arizona caps nonresident bonus points at 20. Here's the strategic framework for hunters approaching or at the cap — when to burn points, how to hedge across species, and what to expect at max.

Arizona E-Tag & Harvest Reporting 2026
Arizona's e-tag and mandatory harvest reporting system affects every hunter. Here's the 2026 guide covering activation, deadlines, required fields, and penalties for late or missing reports.
Group Elk Hunt Planning: Multi-Hunter Trip Checklist
A comprehensive checklist for organizing a multi-hunter elk trip — from date alignment and license applications to camp gear, food planning, and pack-out logistics for multiple kills.
No comments yet. Be the first to share your experience!