Arizona Glassing Setups: Optics & Technique
Arizona hunting is a glassing game. Here's the complete guide to the optics, tripods, and technique that separate successful hunters from those who miss the animals that are there.
This article contains affiliate links. We may earn a small commission if you purchase through these links, at no extra cost to you.
Arizona hunting is a glassing game. More than in any other western state, success here tracks directly to how much time you spend behind quality glass and how systematically you cover country with it. The state’s open terrain, long sightlines, and small-bodied game (Coues deer, for example, at 80-110 pounds) combine to reward the patient glasser and punish the hunter who tries to still-hunt through glassing country.
Here’s the practical guide to building a serious Arizona glassing setup.
Quick Facts: AZ Glassing Baseline
| Detail | Recommended |
|---|---|
| Primary binocular | 10x42 or 12x50 for general use |
| Tripod-mounted binocular | 15x56 (standard) or 18x56 (premium) |
| Spotting scope | 65-85mm objective, 15-60x or 20-60x zoom |
| Tripod | Carbon fiber, rated 10+ lb capacity |
| Tripod head | Panning head, not ball head |
| Budget entry | ~$800 for functional setup |
| Performance tier | $2,500-$5,000+ for serious Arizona glassing |
The Three-Tier System
Successful Arizona glassers typically run three levels of optics:
Tier 1: Handheld Binocular
Used for scanning, walking, quick verification.
Specs: 10x42 or 12x50 from a quality manufacturer. Field of view matters for scanning moving country.
Options: Vortex Razor, Leupold BX-4, Swarovski EL, Leica Noctivid, Maven B.1/B.2.
When to use: While moving between glassing positions. During stalks. For close-range confirmation after locating an animal via higher-power tier.
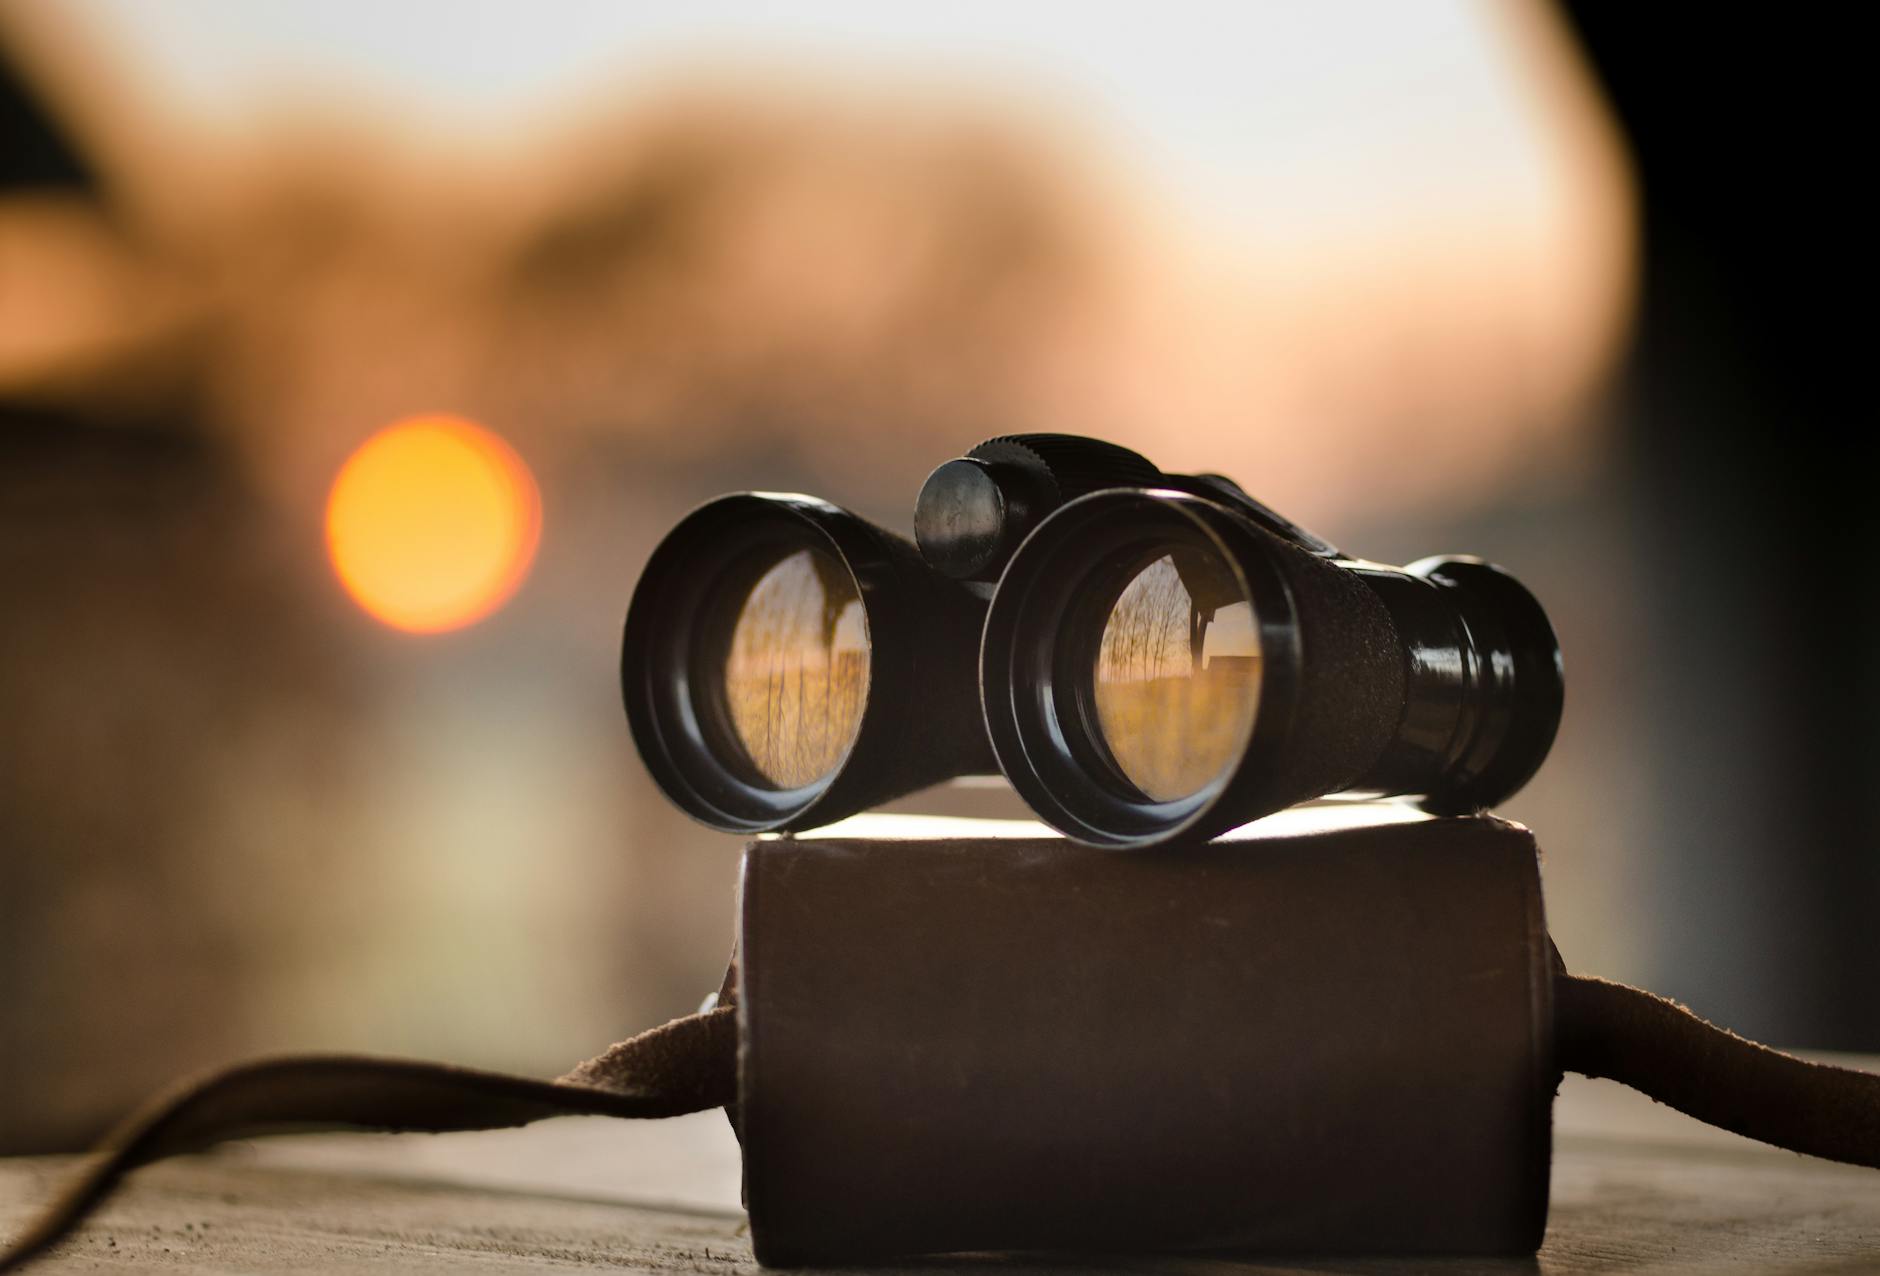
Tier 2: Tripod-Mounted High-Power Binocular
The workhorse of Arizona glassing. 15x or 18x binoculars mounted on a solid tripod and used for extended glassing sessions.
Specs: 15x56 is standard (moderate weight, excellent performance). 18x56 is premium (more magnification, slightly more weight, requires very stable tripod).
Options: Swarovski SLC 15x56, Leupold BX-4 15x56, Vortex Razor UHD 18x56, Maven B.5 18x56, Kowa Genesis 15x44.
Why binocular vs scope: Two-eye viewing is dramatically less fatiguing for extended sessions. You’ll spend more total time behind 15x bins than you will behind a spotter.
Tier 3: Spotting Scope
Used for detailed evaluation after a target is located.
Specs: 65-85mm objective, 15-60x or 20-60x zoom eyepiece, straight or angled body.
Options: Swarovski ATX/STX, Kowa Prominar, Leupold SX-5, Vortex Razor HD, Maven S.1/S.2.
When to use: Evaluating antler on a located buck. Counting points. Age estimation. Long-range observation where 15x is insufficient.
Build Tier 2 Before Tier 3
New Arizona hunters often over-invest in spotting scopes and under-invest in tripod binoculars. The correct priority for most glassing styles is: excellent Tier 2 (15x tripod binocular) first, then upgrade Tier 3 (spotter) as budget allows. You’ll use the 15x bins ten times more than the spotter.
Tripods and Heads
Tripod: Carbon fiber legs (see carbon fiber tripod for glassing). Must be tall enough to use standing (some hunters glass from seated/prone positions; still benefit from taller tripod).
Capacity: Rated for at least 10 pounds.
Quality options: Outdoorsman Compact, Slik Pro, Gitzo, Really Right Stuff.
Head: Panning head (video head), not ball head. You want smooth horizontal scanning motion, which ball heads don’t provide.
Quality heads: Outdoorsman Pistol Grip, Really Right Stuff panning heads, Manfrotto fluid heads.
Glassing Technique
Positioning
Elevation: Get high. Even 100 feet of elevation dramatically expands your field of view.
Sun angle: Have the sun behind you. Glassing into the sun creates glare that hides animals.
Wind protection: Position where wind isn’t battering your tripod. Vibration destroys image quality at 15x+.
Cover: Don’t skyline yourself. Break your outline against terrain features.
Systematic Coverage
Most hunters fail by glassing randomly — scanning around, occasionally stopping. The successful pattern is systematic coverage:
- Divide visible country into sectors (quarters or smaller).
- Work each sector top-to-bottom, scanning with subtle pan movements.
- Complete one sector before moving to the next.
- Note anything unusual — shapes, colors, movements — for immediate re-examination at higher power.
Pace: 5-10 minutes per sector minimum. A large visible area might take 45-90 minutes to cover properly.
What You’re Looking For
Animal shapes, not animals. Antler tips poking above cover. Ears. Tan or white patches that don’t match the background. Movement against stationary terrain.
Most animals in glassing country reveal themselves through small details rather than obvious silhouettes. Train your eye to notice anomalies.
When to Move
Stay put: Extended sessions at high-quality glassing points consistently outperform frequent moves. A morning session of 3-4 hours from one productive vantage is often more productive than four 45-minute sessions from four different points.
Move: When the sun angle shifts unfavorably. When wind has changed. When you’ve completed systematic coverage of everything visible.
Species-Specific Applications
Desert mule deer: Primary glassing in canyon country. 15x tripod bins essential. Look for bedded bucks in shade on north-facing slopes during midday.
Coues deer: Longest-distance glassing in Arizona. 18x bins are genuinely valuable. Spotting scope critical for antler evaluation.
Pronghorn: Open-country glassing with extended lines of sight. Tripod setups standard. Sometimes works from vehicles (where legal).
Elk: Meadow-edge glassing in archery and early rifle seasons. 10-12x handheld often sufficient; tripod bins help for big country.
Javelina: Short-range work compared to ungulates. Binoculars primary; less need for high-power tripod setups.
Gear Maintenance
Cleaning: Carry microfiber cloths. Clean lenses only when necessary (dust without cleaning creates micro-scratches).
Desert considerations: Sand and dust are the enemies of precision optics. Use lens covers religiously.
Humidity: Cold-to-warm transitions create condensation. Allow equipment to equalize temperatures before uncovering lenses.
Padding: Protect optics during transport. Padded bags or cases matter.
Budget Paths
Entry ($800-1500):
- Vortex Viper HD 10x42 binoculars
- Vortex Diamondback Vortex Razor 15x56 binoculars (tripod-mounted)
- Basic tripod and panning head
- Entry-level spotting scope (Vortex Diamondback HD 20-60x85)
Serious ($2500-4500):
- Leupold BX-4 or Maven B.2 primary
- Vortex Razor UHD or Maven B.5 tripod bins
- Solid carbon tripod + pistol-grip head
- Spotting scope (Vortex Razor HD or Maven S.1)
Premium ($5000+):
- Swarovski EL or Leica Noctivid primary
- Swarovski SLC 15x56 tripod bins
- Swarovski ATX/STX spotting scope
- Gitzo carbon tripod + RRS head
Related Arizona Articles
Frequently Asked Questions
Can I use a camera tripod? Marginally — many are not rated for heavy binoculars and lack panning heads.
Is 15x really that much better than 10x? For extended Arizona glassing, yes. Dramatic detail increase.
Do I need both binoculars and a spotter? For serious Coues or desert mule deer hunting, yes. For elk/pronghorn, binoculars alone often sufficient.
Best first upgrade from basic optics? Tripod-mounted 15x binoculars if doing Arizona glassing.
Are image-stabilized binoculars useful? Nice but heavy and expensive. Tripod setup usually better value.
How important is glass quality? Very. At the distances and durations of Arizona glassing, second-rate glass creates eye fatigue and missed animals.
Gear Tools
Run the Numbers on Your Gear
Ballistics calculator, pack weight optimizer, gear loadout builder, and firearms comparison — free.
Get the Insider Edge
Join hunters getting exclusive draw odds data, gear deals, and weekly hunt planning tips.

No comments yet. Be the first to share your experience!